

Portrait Series 01 Workshop
Thank you for buying Portrait Series One!
I hope this marks a new page in your photography journey.
Remember to tag #dhpresets on any posts so you can be featured! Send in full quality before and after photos to hello@davishilton.com as well to be posted on @dhpresets.
Before we get started, please remember that the files you have purchased are for your individual use only. I trust and you and appreciate you supporting my career!
Alright, boring stuff is over, let's talk presets!
First, let's install these presets.
Real quick, then we'll get started.
To install your presets in Lightroom,
go ahead and open up your program..
Locate "Lightroom" on the top bar once your program is open.
Next, hover down and click "Preferences".
Great! Now, on the new popup window, make sure you're on the "Presets" tab, then click "Show Lightroom Presets Folder".
This will open up a folder on your desktop. Find and open the folder labeled "Lightroom", it should already be highlighted.
Open the folder called "Develop Presets".
Cool! You made it!
Now all you have to do is take the folder of presets you downloaded from me ("➸DH Portrait Series 1") and drop the whole thing in the "Develop Presets" folder!
After that, simply exit out and close your Lightroom, then reopen the program!
Voila, the actions should now be in your presets dropdown on the left.
To install ACR presets in Photoshop, please download and unzip the presets you purchased and place them in the following location:
• Mac(user)/Library/Application Support/Adobe/Camera Raw /Settings
• Win(user)/Application Data/Adobe/Camera Raw/Settings
or
C:Users-[user name]/AppData/Roaming/Adobe/CameraRaw/Settings
Make sure you only copy the preset files (.xmp) into the 'settings' folder, specified above, as folders are not supported in Camera Raw.
If you are on a Mac, the Library menu may be hidden, depending on your operating system. To reveal it, hold the Option key down while selecting the “Go” menu in the Finder.
If you're still having troubles finding the 'Settings' folder, you can also save a file within ACR and search for it on your computer. When found make a shortcut to the 'Settings' folder either in your sidebar or as a desktop shortcut for easy access.
There are 3 steps to editing with this preset pack.
Step ONE: Apply a filter.
Click, step one is done!
But wait! Don't forget that Glow, Hazy, and Sand are each made for specific lighting.
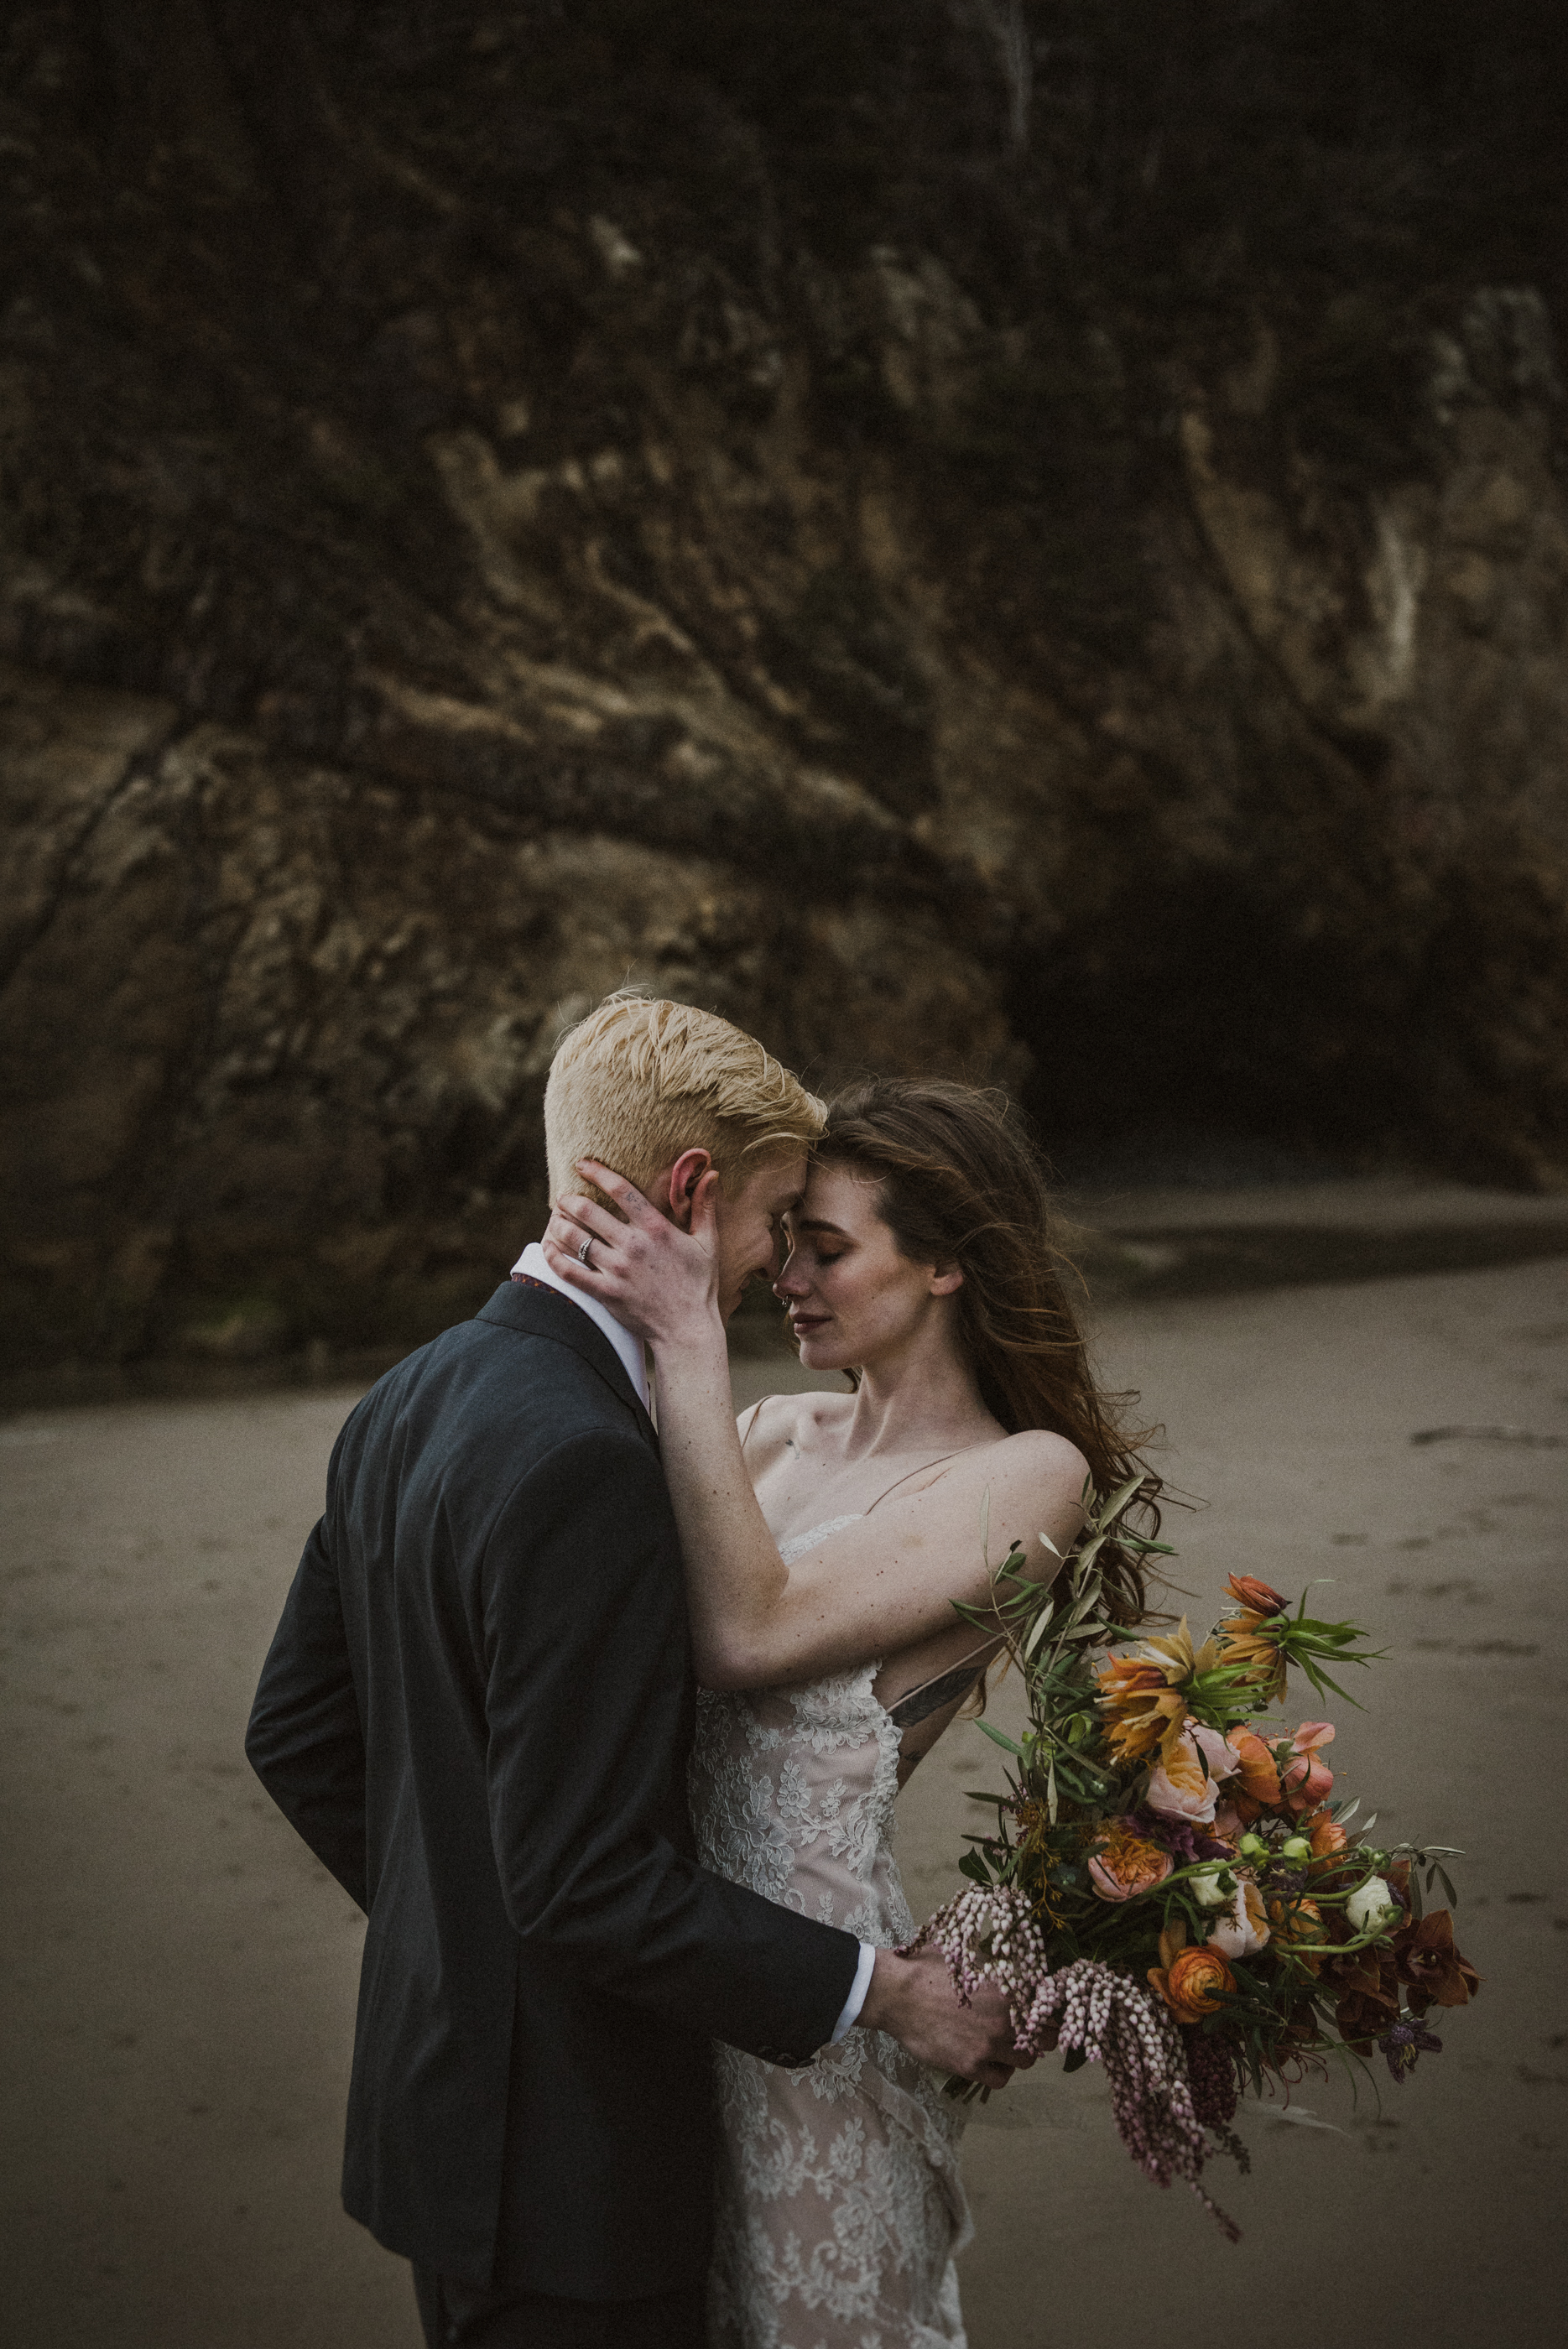
01 Glow and 01 Glow B&W are for photos taken in even, shaded lighting. I prefer to put the sun behind my subjects and backlight them so that their skin is soft and even.

Just one click, and presto!

Haze 02 and Haze 02 B&W are for photos with bright sunlight flaring in front of your model! This is usually achieved by shooting with your model facing away from the sun or light source, and allowing a flare into your camera by pointing your lens towards them. I usually cut the sun out about an inch out of the frame.

Once you've found the right photo, give it a click!
Let's see where this goes.

Sand 03 and Sand 03 B&W are great for overcast lighting, or any evenly-lit portrait that you want to have a more filmy, washed out, or vintage look to.

Step Two: Adjust the exposure, then contrast, then the temperature.

These bars will allow you to fine-tune the photograph.
Remember, every photo is different!
First, it's up to you to make sure and properly expose the subject's face.
I like to have bright subjects so I expose my models until just before losing detail in their skin. But you do you, follow your style!
Next, the filter does a nice job, so I don't go crazy, but if you need to, add or take away contrast to your own preference!
(Don't overdo it, but don't hold back if you need a little more pop!)
Last, adjust the temperature and find a white balance you like! I love warm photos. But that's just me. Maybe you like yours chilly.
Don't be scared to go back and forth and tweak things a bit until you're happy with your result.
For example,


Here's a photo of mine with Sand applied. I went with a light and airy edit, so I pushed up my temperature!
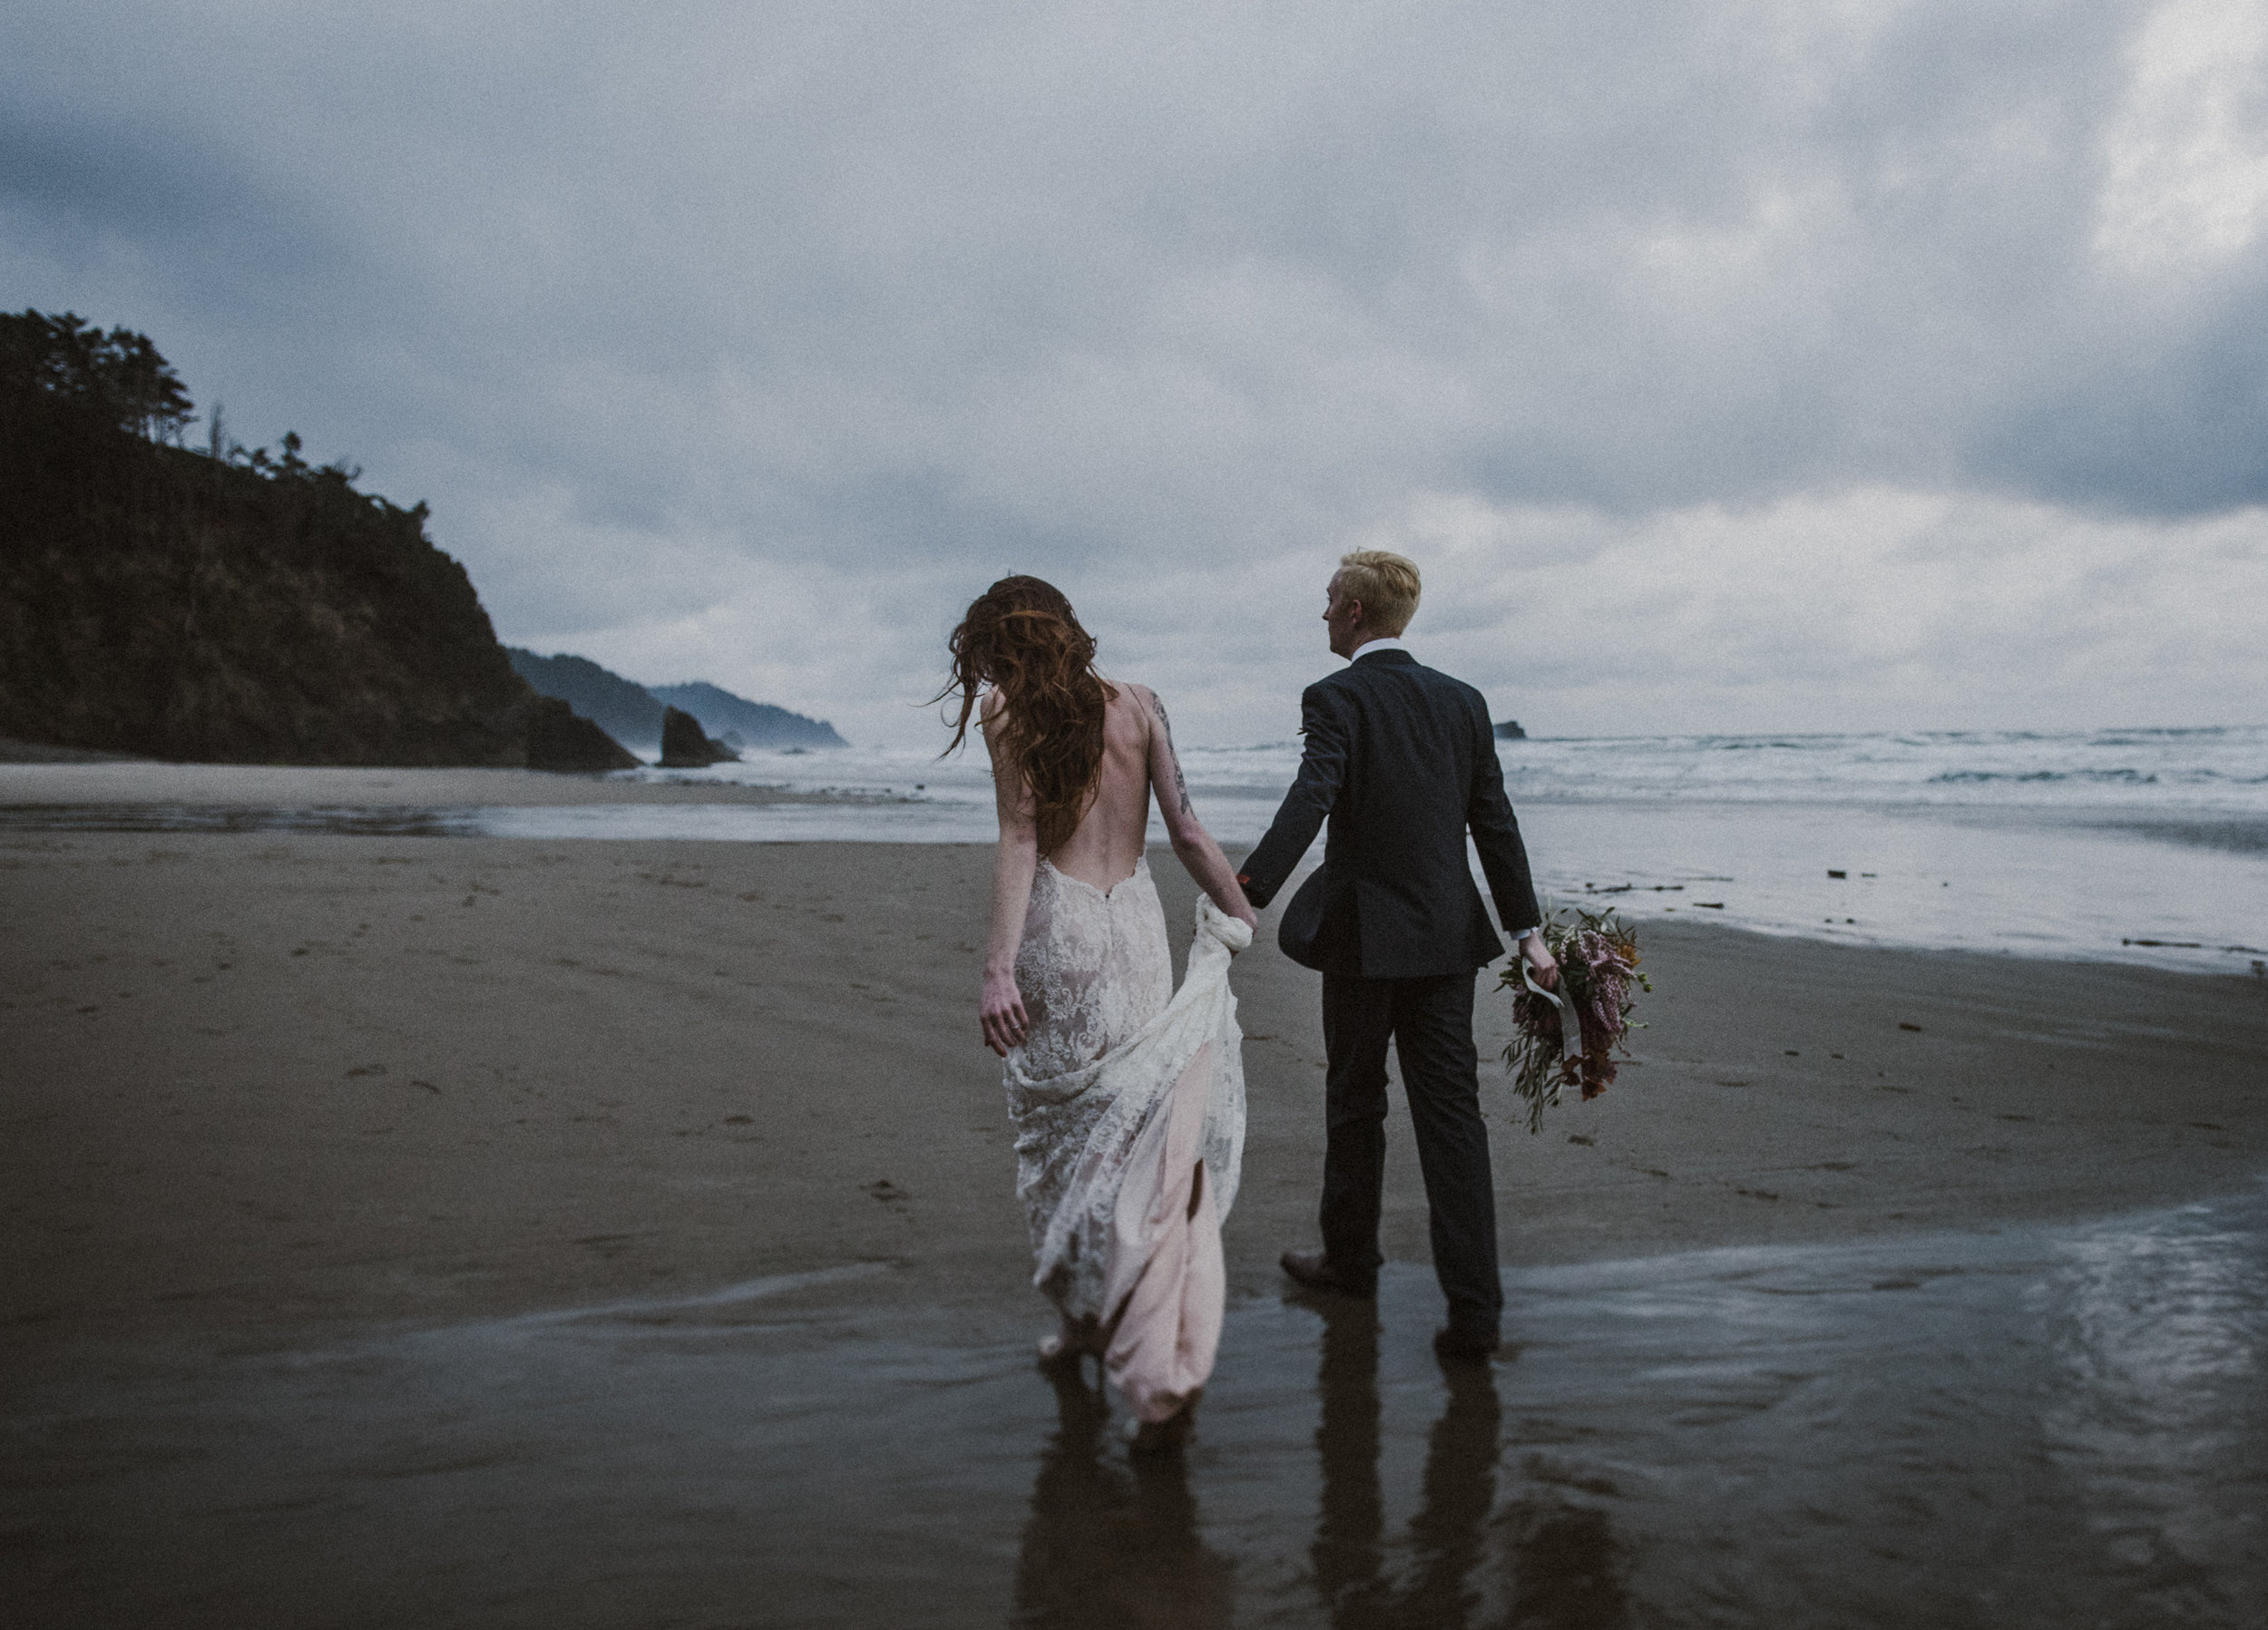

But! Maybe you're more of a dark and broody kinda person. So here's an example of a lower exposure, and a a lower temperature!
The possibilities are endless.
Step Three: Use the toolkit options to finalize your style
Look for the ✎ symbol! All of those presets are little tweaks to help you stylize your image!
You have the options to add, or take away grain, to make your photo more airy and clear by removing the vignette, or darker by adding one. You can also change the colors of the shadows to get a more dreamy or earthy style.
For example
Just by clicking ✎ Airy, I've changed this photo by removing shadows and vignette, and my photo is more light and open!


Now, you could argue back and forth for a day about which is better. But my point is, everyone has their own style! So play around with the mods and see what you like.
Tip!
Everyone has a different skin color, and each lighting situation can vary.
If your skin tones are coming out too orange or yellow, adjust the color sliders in the "Color" tab of the Adjustments settings in Lightroom.
Great work!
The more you play around with these presets, the sooner you'll be a master of your own style.
You'll learn how to gain more control over exposure, tones, and color balance, and find a lot more consistency.
You'll be a pro in no time!
Thank you
so much for your time and creativity! If you have any problems, send me a quick email at hello@davishilton.com! Otherwise, don't forget to tag and send in work so I can feature you!
All the best,
Davis.